What Are Saved Sessions in Send.win (and Why Bother Grouping Them)?
If you manage more than a handful of online accounts, you already know the pain: re-entering credentials, waiting for two-factor codes, watching a platform flag your login as “suspicious” because you switched networks again. A saved session in Send.win solves that by capturing an entire isolated browser environment — cookies, local storage, a unique fingerprint, and (optionally) a dedicated proxy — and storing it as a reusable profile you can reopen with a single click. No re-login, no re-verification, no cross-contamination between accounts.
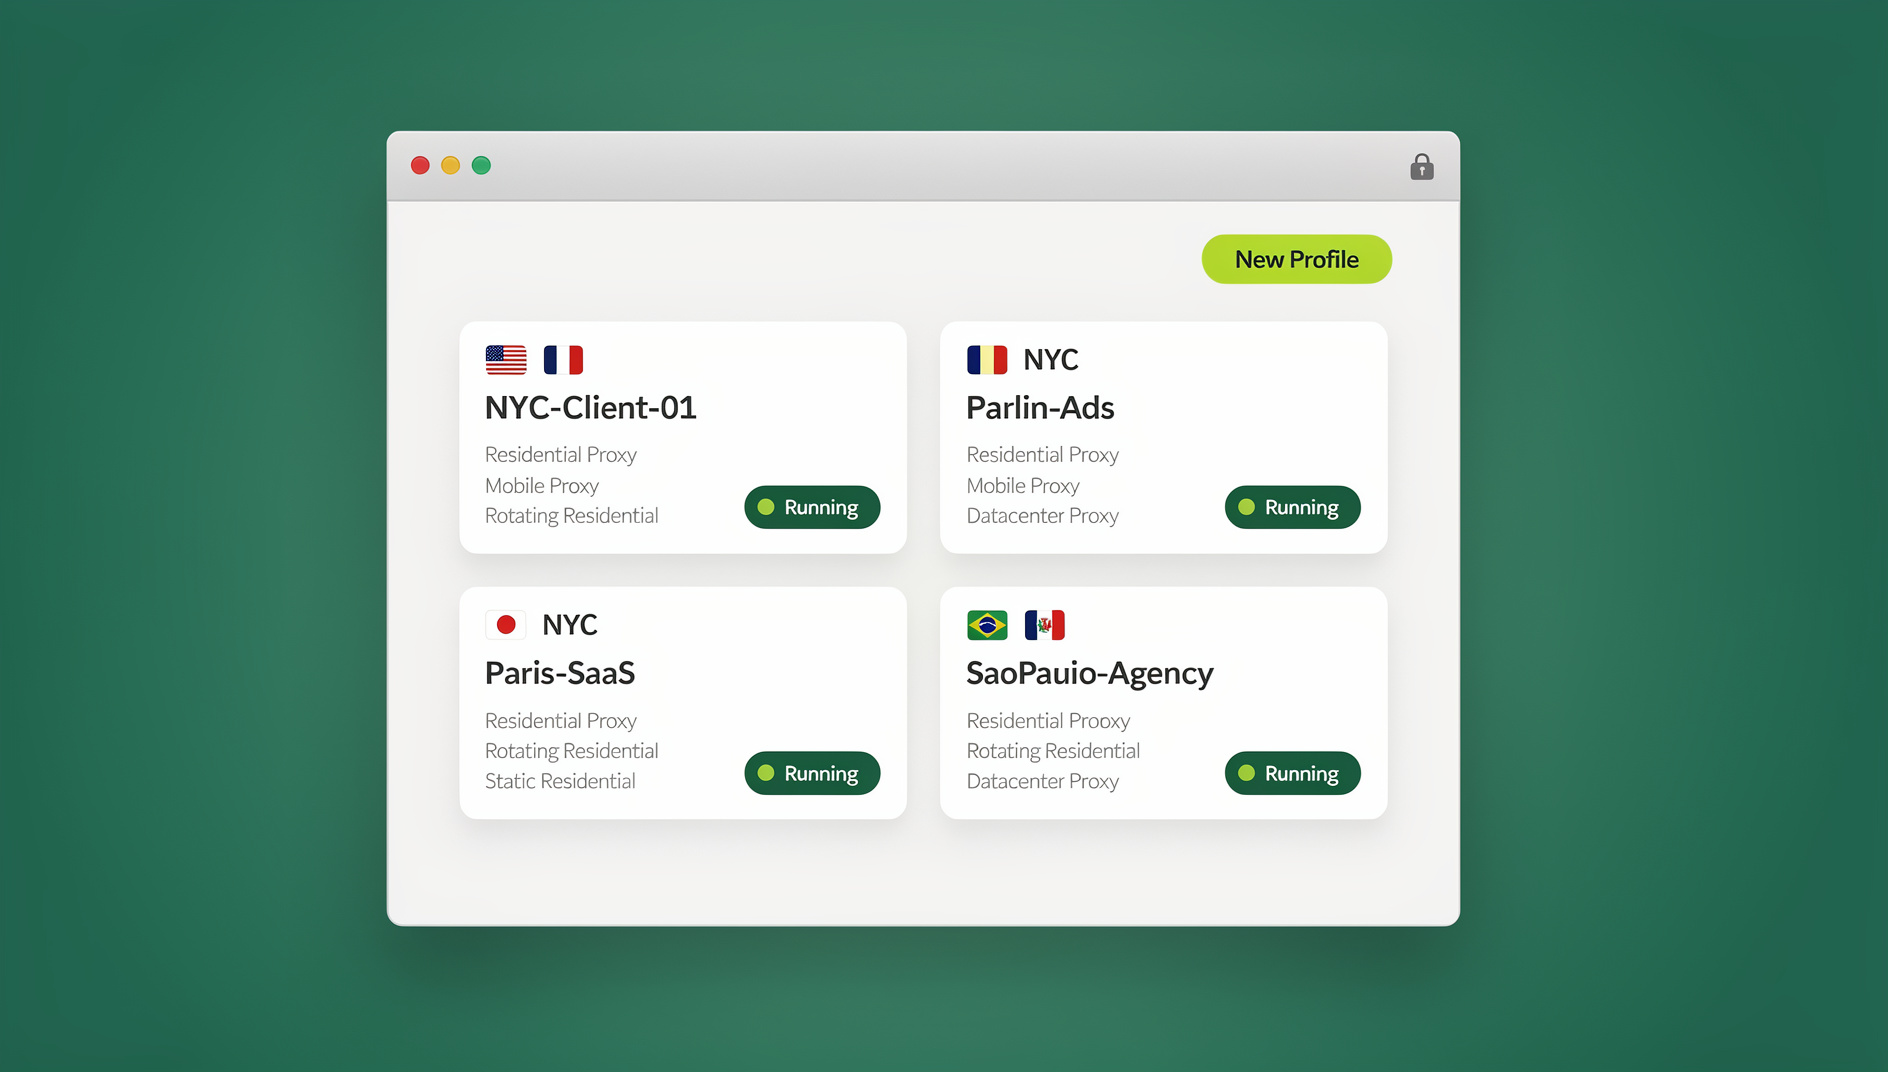
But saved sessions and groups are two different problems. Saved sessions solve persistence — you don’t lose your login state. Groups solve scale — once you have 15, 50, or 300 sessions, a flat list becomes unusable. This guide walks through exactly how to create a saved session and assign according to group inside Send.win, plus the organizational strategies that keep large session libraries manageable instead of chaotic.
Saved Sessions vs. Browser Profiles vs. Bookmarks
Before diving into the steps, it helps to understand why saved sessions in Send.win aren’t the same as a Chrome profile or a bookmarked login page.
| Feature | Chrome/Edge Profile | Bookmark / Password Manager Entry | Send.win Saved Session |
|---|---|---|---|
| Unique browser fingerprint | No — shared engine signature | N/A | Yes, per session |
| Dedicated proxy/IP per account | Manual, error-prone | No | Yes, built-in |
| Persistent cookies/local storage | Yes, but tied to one device | No | Yes, portable and shareable |
| Organize into groups/folders | Limited | Basic folders only | Yes, native groups |
| Team sharing without passwords | No | No | Yes (Team plan) |
| Automation-ready (Selenium/Playwright) | No | No | No |
That combination — isolation plus organization — is what makes saved sessions useful for anyone juggling more than two or three accounts on the same platform, whether that’s a solo freelancer, an e-commerce seller, or a full agency team.
How to Create a Saved Session in Send.win
Creating a saved session takes under a minute. You can do this from the web dashboard, a cloud browser session with zero local install, or the native Desktop app — all three stay in sync.
Step 1: Open Send.win
Log into your Send.win dashboard, or launch the Desktop app if you have it installed. The Desktop app (available natively for Windows, macOS, and Linux) is worth using if you run sessions daily — it launches profiles faster, keeps sessions running in the background, and doesn’t depend on a browser tab staying open.
Step 2: Click “New Session”
From the dashboard, click the “New Session” or “+” button. This opens the session configuration panel.
Step 3: Configure the Session
- Give the session a clear, descriptive name (e.g., “Amazon US — Store 3” rather than “Session 12”)
- Choose a fingerprint profile (OS, browser version, screen resolution, timezone) — Send.win can auto-generate a coherent, non-conflicting fingerprint for you
- Attach a proxy if the account needs a consistent IP or specific geolocation
- Assign the session to a group (or skip this and do it later — see below)
Step 4: Save and Launch
Click “Save,” then “Launch” to open the isolated browser window. Log into the target platform once, and Send.win remembers everything for next time. If you’re setting up several accounts at once, our walkthrough on how to create sessions in Send.win covers the dashboard in more visual detail, and the guide on creating multiple sessions shows how to batch this process when you’re onboarding dozens of accounts at once.
How to Assign a Saved Session to a Group
This is the part most people skip when they’re in a hurry — and the part that saves the most time later. Assigning sessions to groups keeps related accounts together so you’re not scrolling through an alphabetical soup of session names every time you need to switch context.
Method 1: Assign a Group While Creating the Session
During Step 3 above, the session configuration panel includes a “Group” dropdown. Select an existing group, or type a new group name to create one on the fly. This is the fastest path if you already know how the session should be categorized.
Method 2: Assign or Change a Group After Creation
If you created the session without picking a group — or you want to reorganize later — it takes four clicks:
- Find the session in your dashboard list
- Click the three-dot menu (⋮) beside the session name
- Select “Settings”
- Under the “Groups” section, choose the group you want, or click “Create new group” if it doesn’t exist yet
The change applies instantly — no need to relaunch the session or re-authenticate. This also works if a session’s purpose changes over time (e.g., a test account that graduates into a permanent client account).
Creating a New Group From Scratch
You don’t have to attach a group to a session to create one. From the sidebar, click “Groups,” then “New Group,” name it, and it becomes available the next time you assign or reassign a session. Empty groups are fine — create your folder structure first if you prefer planning ahead of execution.
Group Organization Strategies That Actually Scale
A flat list of 10 sessions doesn’t need groups. A list of 100+ absolutely does. Here are the organizational patterns that hold up as your session count grows.
| Strategy | Best For | Example Groups |
|---|---|---|
| By client/brand | Agencies, freelancers managing multiple clients | “Client A”, “Client B”, “Client C” |
| By platform | Sellers and marketers active on several platforms | “Amazon”, “eBay”, “TikTok Shop”, “Etsy” |
| By proxy region/geo | Teams that need location-specific browsing or ad testing | “US-East”, “EU-West”, “APAC” |
| By team/department | Larger teams sharing a Send.win workspace | “Marketing Team”, “Support Team”, “QA Team” |
| By status | High-churn account operations (testing, warming, active) | “Warming Up”, “Active”, “Archived” |
Most teams end up combining two of these — for example, a top-level group per client, and a naming convention inside each session (e.g., “Amazon — US-East — Active”) that captures the rest. If you’re managing IP-sensitive accounts, pairing your group strategy with proper proxy assignment matters just as much as the grouping itself; see our guide on how to add a proxy to any session for the exact steps.
Managing Groups: Rename, Reorder, and Delete
Groups aren’t static once created. Send.win lets you adjust structure as your account portfolio changes:
- Rename a group: Click the group name in the sidebar, select “Rename,” and save. Sessions inside keep their assignment automatically.
- Reorder groups: Drag and drop groups in the sidebar to put your most-used categories at the top.
- Delete a group: Deleting a group does not delete the sessions inside it — they simply move back to “Ungrouped” so nothing is lost by accident.
- Merge groups: There’s no one-click merge button, but you can bulk-select sessions from one group and reassign them to another (see below), then delete the now-empty group.
Bulk Actions: Moving Multiple Sessions Between Groups at Once
Reorganizing one session at a time is fine for occasional cleanup, but if you’re restructuring dozens of sessions after, say, onboarding a new client or splitting a group in two, use bulk actions instead:
- From the dashboard, use the checkboxes to select multiple sessions (or use “Select All” within a filtered view)
- Click “Bulk Actions” in the toolbar that appears
- Choose “Move to Group,” pick the destination, and confirm
This is significantly faster than opening each session’s settings individually, and it’s the method most agencies use when they inherit a messy, ungrouped session library and need to clean it up in one sitting.
Saved Sessions and Groups: Desktop App vs. Web Dashboard
Send.win’s group structure is identical whether you access it through the web dashboard, a cloud browser session, or the native Desktop app for Windows, macOS, and Linux — everything syncs, so a group you create on the web shows up instantly in the desktop client and vice versa. That said, there are a few practical differences worth knowing:
- Desktop app: Better for daily, heavy session switching — sessions launch faster, you can keep several running in the background without tab-hoarding a browser window, and it survives browser restarts/updates that would otherwise interrupt an active session.
- Web dashboard: Best for quick administrative tasks — bulk group reassignment, adding teammates, checking proxy usage — from any machine without installing anything.
- Cloud browser session: Convenient when you need a session running with zero local install — browse entirely in the cloud from any machine, metered by your plan’s cloud browsing time.
Many power users run the Desktop app as their daily driver for launching grouped sessions and use the web dashboard only for setup and reorganization.
Sharing Grouped Sessions With Your Team
Groups become even more valuable once you’re not the only person using them. On the Team plan, you can share an entire group — not just one session — with specific teammates, so a new hire gets instant access to every account tied to, say, the “Client A” group without you handing over a single password.
Permissions are granular: you can grant view-only access for QA and support staff, or full access for account managers who need to log in and take action. If someone leaves the team, revoking access takes one click and immediately locks them out of every session in that group — no password resets required across a dozen platforms. Our dedicated walkthrough on how to share sessions to your team covers the permission settings step by step.
Automating Session Creation and Group Assignment
For agencies and operations teams managing session counts in the hundreds, doing this manually — even with bulk actions — eventually hits a ceiling. Send.win has no automation interface: there is no API, SDK, headless mode or Selenium/Puppeteer/Playwright support on any plan, so large batches of sessions and groups are managed through the app’s own bulk actions and the web dashboard.
- Programmatically spin up new saved sessions with a defined fingerprint and proxy
- Assign each session to the correct group automatically based on rules (e.g., client onboarding forms triggering new groups)
- Run scripted QA or scraping jobs inside isolated, grouped sessions without touching the UI at all
- Integrate session provisioning into your existing internal tools or client onboarding pipelines
This turns “create a saved session and assign it to a group” from a manual click-through into a repeatable, scriptable step in a larger workflow — useful if you’re standing up 50 new accounts for a client launch and don’t want to do it by hand.
Real-World Use Cases for Grouped Saved Sessions
E-commerce Sellers
Multi-store sellers on Amazon, eBay, or Etsy use groups to separate storefronts by marketplace and region, keeping each store’s session isolated with its own fingerprint and proxy to avoid cross-account linking risk.
Social Media Agencies
Agencies managing dozens of client accounts across Instagram, TikTok, and Facebook group sessions by client first, then sub-organize by platform inside each client’s naming convention — so an account manager can find every login for “Client B” in one place.
Marketers Running Ad Accounts
Performance marketers testing creative or geo-targeting across multiple ad accounts use region-based groups (“US-East,” “EU-West”) paired with matching proxies, so ad platforms see consistent, believable geolocation per account.
QA Teams and Developers
QA teams testing a product across account tiers (free, pro, admin) or across environments (staging, production) use status-based groups to keep test credentials organized and separated from live production accounts.
Common Mistakes When Organizing Saved Sessions
- Naming sessions generically. “Session 1,” “Session 2” tells you nothing six months later. Use a naming convention that survives without you remembering context.
- Skipping groups until it’s too late. Retrofitting 80 ungrouped sessions is far more tedious than grouping from session one — even a rough structure beats none.
- Mixing unrelated accounts in one group just because they were created the same week. Group by purpose, not by creation date.
- Forgetting to pair groups with proxy strategy. A well-organized group with mismatched or shared proxies still risks account flags — organization and fingerprint isolation need to work together.
- Not revisiting group structure as the team grows. What worked for 5 sessions rarely still works cleanly at 150; schedule an occasional cleanup pass.
🏆 Send.win Verdict
Saved sessions solve the login-persistence problem; groups solve the scale problem. Send.win is one of the few multi-login tools that treats both as first-class features — creation, fingerprinting, proxy attachment, and group assignment all live in the same workflow, on the web dashboard, a cloud browser session, or the native Desktop app, and it scales from a handful of sessions to hundreds with bulk actions. If you’re still managing accounts with a flat, ungrouped list (or juggling separate browser profiles by hand), it’s worth the ten minutes it takes to set up a real structure.
Try Send.win today — plans start at $19/mo (Pro) or $49/mo (Team), and your first card purchase is covered by a 7-day money-back guarantee. You can also preview it free in the cloud demo, and organize your first sessions into groups in minutes.
Frequently Asked Questions
What is a saved session in Send.win?
A saved session is a persistent, isolated browser environment inside Send.win that stores your login state, cookies, local storage, a unique browser fingerprint, and an optional dedicated proxy for one account. Instead of logging in every time, you launch the saved session and you’re already authenticated.
How is a saved session different from a regular browser profile?
A standard browser profile (like a Chrome profile) still shares the same underlying browser fingerprint across profiles on the same device, which platforms can detect and link. A Send.win saved session generates a distinct fingerprint and can be paired with its own proxy, making each session appear as an independent device and location rather than “the same computer, different tab.”
Can I move a saved session to a different group after creating it?
Yes. Click the three-dot menu next to the session, select “Settings,” then choose a new group under the “Groups” section. The change is instant and doesn’t require relaunching or re-authenticating the session.
Is there a limit to how many groups or saved sessions I can create?
Group creation itself isn’t capped, but the number of saved sessions you can run is tied to your plan. The Pro plan supports up to 150 profiles, and the Team plan supports up to 500 profiles with 16 seats, so most users organize into groups well before hitting a session limit.
Can I share a saved session or an entire group with my team?
Yes, on the Team plan. You can share individual sessions or an entire group with specific teammates, set view-only or full-access permissions, and revoke access instantly without resetting any underlying account passwords.
Does grouping sessions work the same way in the Desktop app as in a cloud browser session?
Yes. Groups sync in real time across the web dashboard, cloud browser sessions, and the native Desktop app for Windows, macOS, and Linux. Create or reassign a group on one, and it appears immediately on the others.
Can I automate session creation and group assignment?
No. Send.win has no automation interface — no API, SDK, headless mode or Selenium/Puppeteer/Playwright support on any plan. Sessions with their own fingerprints and proxies and their group assignments are created and managed through the app’s own interface and bulk actions, which agencies can use to onboard large batches of accounts.
What happens to my saved sessions if I cancel my subscription?
Your sessions and group structure remain intact for a grace period after cancellation, but launching sessions and accessing premium features (proxy bandwidth, team sharing) requires an active subscription. It’s best to export or document any critical account details before letting a plan lapse.