To learn how to manage multiple Git accounts on one computer, you should generate unique SSH keys for each identity, configure them in your SSH config file, and use conditional gitconfig includes to automatically swap author profiles based on directory paths. This setup prevents authorization issues and accidental commits with the wrong email. Below is a step-by-step setup guide and a complete automation script to keep your repositories securely separated.
The Importance of Git Identity Isolation
As a developer, managing multiple Git accounts is a common requirement. You likely have a personal account on GitHub for your side projects, a corporate account on GitHub or GitLab for your full-time job, and potentially several freelance accounts for different client organizations. If you push code to a client’s repository using your personal email, or commit to an open-source project with your corporate credentials, you can cause serious issues. These issues range from simple naming inconsistencies in commit graphs to corporate security warnings and compliance violations.
Git was originally designed for single-user machines. By default, it uses a global configuration file to store a single name and email address for all commits. Furthermore, typical operating system credential managers cache one set of login details per host (such as github.com), which means Git will default to using the same credentials for every repository. To handle different identities smoothly, you must configure your machine to route authentication and user profiles dynamically.
Prerequisites for Multi-Account Configuration
Before implementing the setup, ensure your development environment is prepared. You will need:
- Git installed and configured on your local machine (version 2.13 or newer is required to use conditional includes).
- A terminal window (Terminal on macOS, Bash/Zsh on Linux, or Git Bash on Windows).
- Access to the admin settings of your respective Git accounts to add SSH authentication keys.
- Node.js installed if you plan to implement automated browser integrations.
Method 1: Isolating Authentication with Unique SSH Keys
Using unique SSH keys is the most reliable way to authenticate multiple Git accounts on the same computer. This method replaces simple username-password logins with secure cryptographic key pairs. Just as a web developer needs separate browser cookie pools for different web logins, which you can coordinate via a dedicated cookie management tool, a software engineer needs separate SSH keys to authenticate separate Git accounts.
Step 1: Generate Separate SSH Key Pairs
First, open your terminal and generate a unique SSH key for each account. Use the modern, high-security Ed25519 algorithm. Avoid using the default key filename (like id_ed25519) so you do not overwrite existing keys.
# Generate key for your personal GitHub account
ssh-keygen -t ed25519 -C "[email protected]" -f ~/.ssh/id_personal_github

# Generate key for your corporate GitHub account
ssh-keygen -t ed25519 -C "[email protected]" -f ~/.ssh/id_work_github
Press Enter when prompted for a passphrase, or enter a secure password to add an extra layer of protection to your local keys.
Step 2: Add Public Keys to Your Git Accounts
Next, copy the contents of the public key file and paste it into the SSH settings page of the corresponding Git platform.
# Copy the public key text (macOS example)
cat ~/.ssh/id_personal_github.pub | pbcopy

# For Windows Git Bash:
# cat ~/.ssh/id_personal_github.pub | clip
Navigate to GitHub.com → Settings → SSH and GPG Keys → New SSH Key, paste the key content, and save. Repeat this process for your work account using the id_work_github.pub key.
Step 3: Configure Your SSH Config File
To tell your system which key to use for different repositories, create or edit your SSH config file located at ~/.ssh/config. Add host aliases that route requests to the correct key file.
# Personal GitHub account
Host github-personal
    HostName github.com
    User git
    IdentityFile ~/.ssh/id_personal_github
    IdentitiesOnly yes

# Corporate GitHub account
Host github-work
    HostName github.com
    User git
    IdentityFile ~/.ssh/id_work_github
    IdentitiesOnly yes
The IdentitiesOnly yes command is crucial. It prevents your system’s SSH agent from trying every available key sequentially, which can trigger authentication block errors on GitHub.
Step 4: Clone and Route Repositories
When cloning a repository, swap the default github.com host in the URL with your custom alias.
# Clone a personal project
git clone git@github-personal:personal_username/my-side-project.git

# Clone a corporate project
git clone git@github-work:company_org/core-api.git
Method 2: Conditional Includes for Directory-Level Identity
While SSH keys handle authentication, Git still needs to know which author name and email address to attach to your commits. To automate this, organize your repositories into distinct folders on your computer and use Git’s conditional include feature.
While directory-based routing works for command-line Git, managing multiple web-based GitHub accounts inside the browser requires similar isolation, which you can achieve using a Chrome multi account workspace setup.
Step 1: Set Up Your Directory Structure
Organize all your repositories into separate parent directories on your local drive:
~/projects/
├── personal/
│   └── my-side-project/
└── work/
    └── core-api/
Step 2: Configure Your Global Gitconfig
Open your global configuration file (~/.gitconfig) and add conditional paths. These instructions tell Git to load specific settings files if a repository is located inside a certain folder.
# ~/.gitconfig
[user]
    name = Your Default Name
    email = [email protected]

# Load personal settings if repository is inside ~/projects/personal/
[includeIf "gitdir:~/projects/personal/"]
    path = ~/.gitconfig-personal

# Load corporate settings if repository is inside ~/projects/work/
[includeIf "gitdir:~/projects/work/"]
    path = ~/.gitconfig-work
Step 3: Create Profile-Specific Configurations
Create the target configuration files in your home directory and define the specific identity settings for each account.
# ~/.gitconfig-personal
[user]
    name = Side Project Maker
    email = [email protected]

# ~/.gitconfig-work
[user]
    name = Senior Developer
    email = [email protected]
Now, any repository cloned into ~/projects/work/ automatically uses your work email and name. No manual per-repo configuration is required.
Method 3: Git Credential Manager for HTTPS Isolation
If you prefer to connect to repositories using HTTPS URLs instead of SSH, you will need to configure Git Credential Manager to separate your logins. By default, it will cache one credential per domain. To bypass this restriction, configure Git to treat each URL path as a unique host.
# Force Git to cache credentials based on the full URL path
git config --global credential.https://github.com.useHttpPath true
With this option enabled, the credential manager will store and use separate login details for github.com/personal-user and github.com/company-org.
Tutorial: Managing Multiple Git Accounts with Isolated Browser Profiles
Developers often need to automate web browser tasks across different Git portals, such as pulling pull request statuses or auditing settings across separate GitHub organizations. However, running automated browser scripts (like Puppeteer or Playwright) in a standard browser environment often triggers bot-detection scripts, and managing multiple active login states programmatically is complex.
To automate these workflows securely, you should run your scripts inside isolated browser containers. This is the same level of anti-detection security that marketers deploy when using a specialized browser for ads management to keep profiles hidden from tracking systems. This sandboxing technique is also standard practice for merchants running multiple Amazon accounts to prevent account linkage.
Prerequisites for Automation
To follow this tutorial, ensure you have:
- Sendwin Browser (the native desktop app) running locally on your computer.
- A Pro or Team plan for isolated browser profiles with their own cookies, storage and fingerprint settings.
- Node.js installed in your project workspace.
- Two isolated browser profiles created in Send.win, one logged into your personal GitHub account and one logged into your work account.
Step-by-Step Automation Script Setup
First, initialize your project and install the required core Puppeteer package. Make sure to use the puppeteer-core library, as it lets you connect to an existing browser binary.
npm init -y
npm install puppeteer-core
The Send.win Solution for Developer Environments
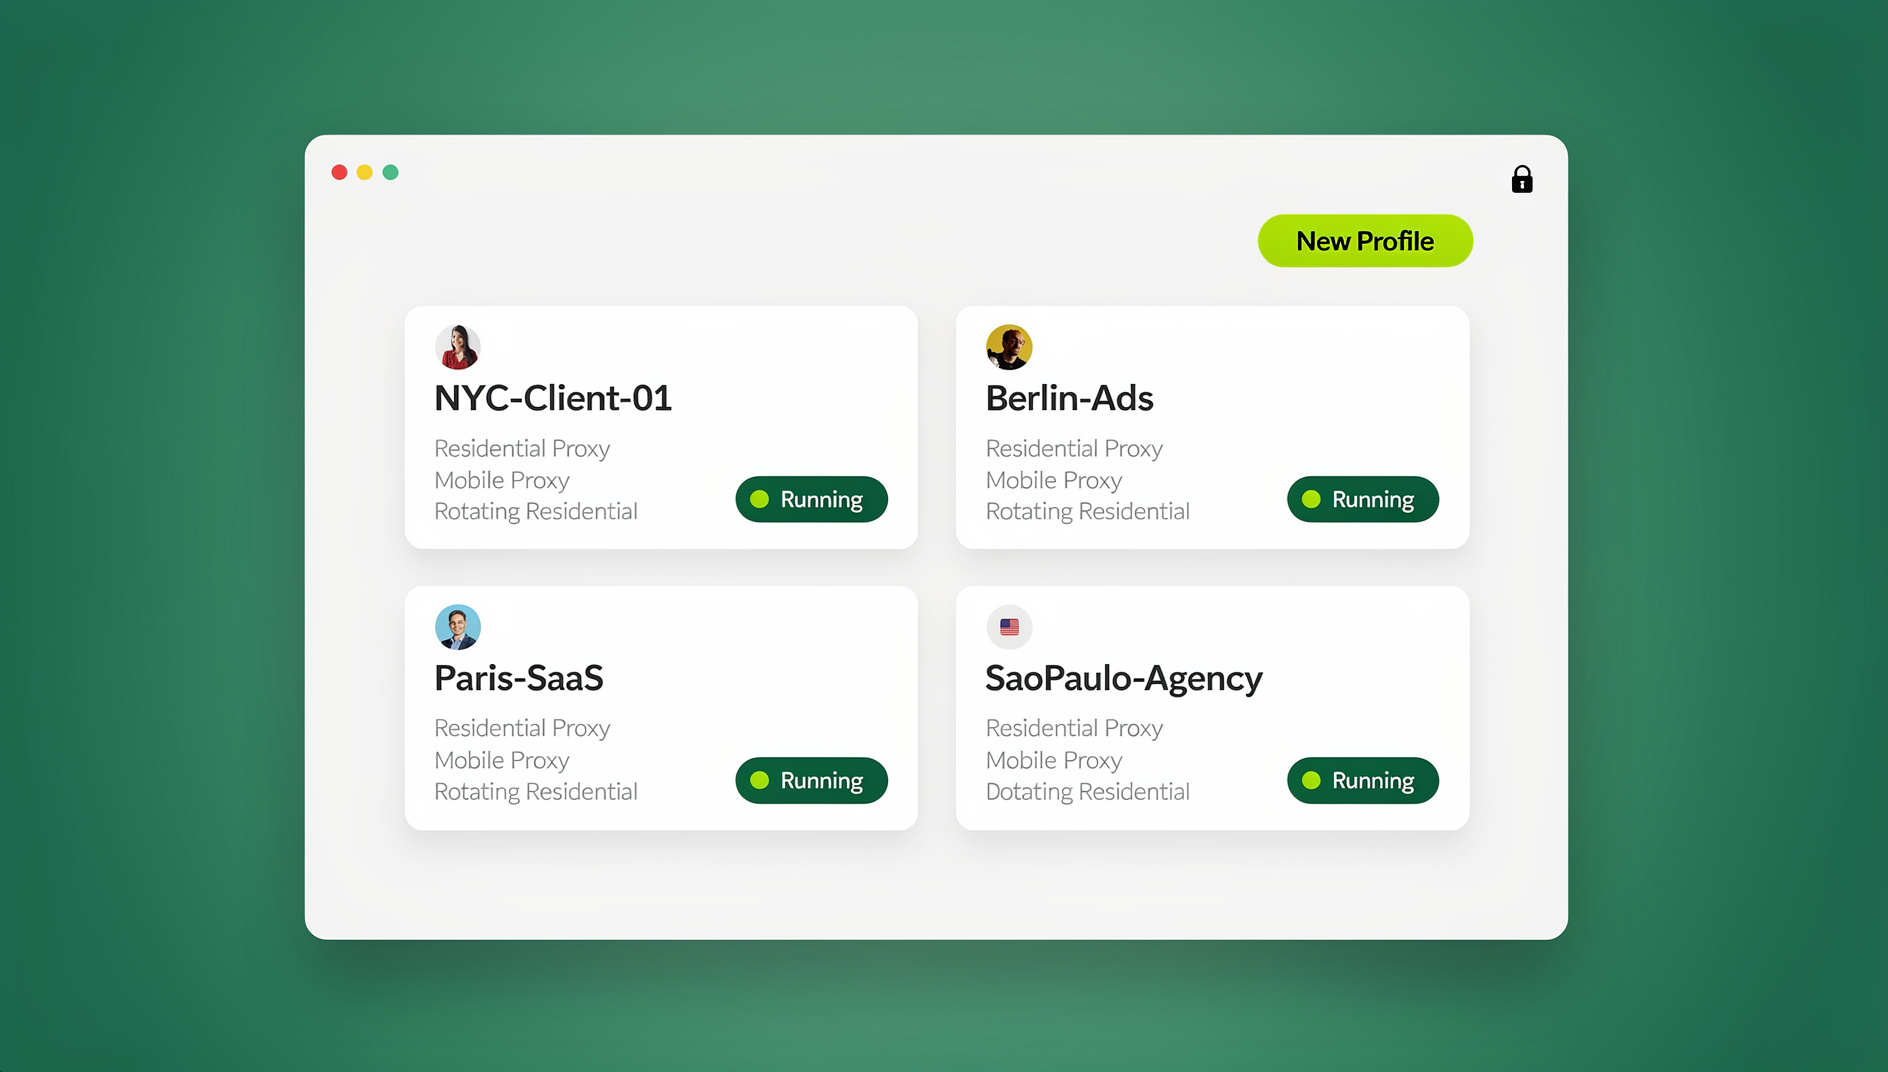
For developers, keeping your git identities isolated in the terminal is only half the battle. You also need to manage multiple active logins across various web interfaces (GitHub, GitLab, AWS Console, Jira) in your browser. Send.win provides the ultimate containerized environment to keep these sessions separated.
With Send.win, you can operate in two real modes:
- Sendwin Browser (the Desktop App): A native desktop application that launches isolated Chromium profiles locally.
- Cloud Browser Sessions: Virtual browser environments executed on cloud servers, allowing you to access your profiles from any device without a local installation.
By routing each profile through a dedicated proxy, you ensure that your personal, freelance, and corporate web sessions never share tracking indicators. This prevents web applications from flagging your development machine for suspicious multi-account access.
Flexible Pricing for Developers and Teams
Send.win provides straightforward, scale-friendly pricing plans that fit your workflow:
- 7-Day Money-Back Guarantee: The first card purchase is covered by a 7-day money-back guarantee. You can also preview the cloud browser for free at the demo.
- Pro Plan ($19/mo or $83.88/yr): Supports up to 150 isolated profiles, includes 5GB of secure proxy bandwidth. This is perfect for individual developers and freelancers.
- Team Plan ($49/mo or $251.88/yr): Supports up to 500 profiles, includes 20GB of proxy bandwidth, and up to 16 team seats for secure profile sharing. This is ideal for development agencies and corporate teams.
🏆 Send.win Verdict
Learning how to manage multiple Git accounts is essential for modern development, but keeping your web logins separated is just as critical. Send.win provides complete session isolation, preventing credential conflicts across your GitHub and GitLab portals with separate cookies, storage and fingerprint settings per profile.
Try Send.win free today — secure your development environment with advanced container session technology.
Frequently Asked Questions
Can I use the same SSH key for multiple GitHub accounts?
No. GitHub does not allow you to add the same SSH key to more than one account. If you attempt to do so, you will receive an error stating that the key is already in use. You must generate a unique SSH key pair for each account to ensure proper security and authorization mapping.
What does the IdentitiesOnly directive do in my SSH config?
The IdentitiesOnly yes command tells your SSH client to only use the key file specified in the config for that host alias. Without this option, SSH may try every key loaded in your ssh-agent sequentially, which can trigger too many authentication failure errors and cause GitHub to block your connection.
How do conditional includes know which email address to use?
Git’s includeIf directive resolves the path of your active directory when you run a command. If the path matches the defined pattern (such as being inside the ~/projects/work/ folder), Git dynamically loads the specified identity file, overriding your global email address with your corporate address for all commits in that folder.
Does Send.win offer an Automation API?
No. Send.win does not offer an automation interface on any plan. The Automation API was retired, and there is no API, SDK, headless mode or Selenium/Puppeteer/Playwright support.
Can I use cloud browser sessions instead of downloading the desktop app?
Yes. Send.win’s cloud browser sessions run on remote servers and do not require a local installation. You can launch and interact with your isolated development profiles directly from any standard browser on your phone, tablet, or laptop.
How do I fix permission denied (publickey) errors in Git?
This error usually means Git is using the wrong SSH key or your public key is not added to your Git account. Run ssh -T git@github-alias (swapping github-alias with your custom Host name from the config) to test the connection and verify which key file is being offered.
Troubleshooting Identity Mix-Ups
If you have configured your environment but still experience identity conflicts, check these common troubleshooting areas:
| Issue | Likely Cause | Solution |
|---|---|---|
| Wrong commit author name | Conditional include path mismatch | Ensure the folder path in ~/.gitconfig matches your local folder case-sensitively and has a trailing slash. |
| Permission denied on push | Using default github.com hostname | Update your repository’s remote URL to use your custom SSH host alias instead of the default domain. |
| Browser login keeps logging out | Shared cookies in standard browser window | Log into your GitHub portals inside Send.win isolated browser sessions to keep credentials separated. |
By establishing clear folder hierarchies, using custom SSH configurations, and leveraging Send.win container isolation for web-based developer dashboards, you can prevent credential mix-ups and protect your repositories across all development tasks.