To manage multiple GitHub accounts Mac systems require separating your SSH keys for authentication and customizing your local Git configuration using directory-specific conditional includes. By creating unique SSH key pairs for each account, setting up an SSH config file, and using Git’s includeIf directive, you can seamlessly push commits to personal and work repositories without credential conflicts or accidental identity leaks.
The Dilemma of the Multi-Account Developer on macOS
In modern software development, it is increasingly common for engineers to balance multiple roles. You might be contributing to high-profile open-source repositories under a personal GitHub account, while simultaneously writing proprietary code for your employer under a corporate enterprise account. On a macOS system, the default configuration for Git is designed around a single, global user identity. When you try to interact with multiple accounts, this default structure breaks down rapidly.
Without proper setup, you will inevitably face two primary issues. First, authentication failures where GitHub rejects your push because it attempts to use your personal credentials for a private corporate repository. Second, commit attribution errors where your personal email address is stamped onto commits pushed to a corporate repository, violating company compliance guidelines, or your corporate email is leaked to public open-source project histories. Resolving these challenges requires separating authentication from commit attribution and establishing a robust system that switches identities automatically.
Authentication vs. Attribution: Understanding the Core Concepts
To successfully configure your system, you must understand the distinction between how GitHub identifies who is communicating with its servers, and how Git records who authored a specific piece of code.
Authentication is the process of proving your identity to GitHub’s servers to gain read or write access to a repository. This is handled at the network level, typically using SSH keys or HTTPS personal access tokens. When you run a command like git push, GitHub uses the credential presented by your system (the SSH key or token) to verify that you have permission to modify that specific repository.
Attribution is the metadata embedded directly inside the Git commits themselves. When you commit code, Git records the author’s name and email address. This metadata is completely independent of the SSH key used to push the commit. GitHub uses the email address inside the commit to link the contribution to a specific GitHub profile. If your local Git configuration is set globally to your personal email, every commit you make—even inside a work repository—will list your personal email in the commit history, regardless of which SSH key was used to authenticate the push.
Method 1: SSH Keys and SSH Config (The Secure Standard)
Using unique SSH keys for each GitHub account is the most secure and reliable way to handle authentication. This method avoids the need to enter passwords or manage transient personal access tokens, relying instead on cryptographic key pairs stored securely on your Mac.
Step 1: Generate Unique SSH Keys
First, you must generate distinct SSH key pairs for each of your GitHub accounts. Open the Terminal application on your Mac and execute the following commands. It is highly recommended to use the modern Ed25519 algorithm, which offers superior security and performance compared to traditional RSA keys.
Generate a key for your personal account:
ssh-keygen -t ed25519 -C "[email protected]" -f ~/.ssh/id_ed25519_github_personalNext, generate a key for your professional or work account:
ssh-keygen -t ed25519 -C "[email protected]" -f ~/.ssh/id_ed25519_github_workWhen prompted, enter a strong passphrase for each key. This passphrase encrypts the private key on your disk, preventing unauthorized access if your physical device is ever compromised.
Step 2: Add Your Keys to the macOS Keychain
To avoid entering your key passphrases every time you interact with GitHub, you can add the keys to the macOS SSH agent and store the passphrases in the system Keychain.
First, start the SSH agent in the background:
eval "$(ssh-agent -s)"Next, add both private keys to the agent, utilizing the macOS-specific keychain flag:
ssh-add --apple-use-keychain ~/.ssh/id_ed25519_github_personal
ssh-add --apple-use-keychain ~/.ssh/id_ed25519_github_work
Step 3: Configure the SSH Config File
The core of the SSH authentication setup lies in the SSH configuration file. This file instructs SSH on which key to use based on the host alias you target. Create or edit the configuration file located at ~/.ssh/config using a text editor like Nano:
nano ~/.ssh/configAdd the following configuration, ensuring you use unique Host aliases (such as github.com-personal and github.com-work) to differentiate the accounts:
# Personal GitHub Account
Host github.com-personal
    HostName github.com
    User git
    IdentityFile ~/.ssh/id_ed25519_github_personal
    IdentitiesOnly yes
    AddKeysToAgent yes
    UseKeychain yes

# Work GitHub Account
Host github.com-work
    HostName github.com
    User git
    IdentityFile ~/.ssh/id_ed25519_github_work
    IdentitiesOnly yes
    AddKeysToAgent yes
    UseKeychain yes
The directive IdentitiesOnly yes is critical here; it prevents the SSH agent from attempting to use other keys stored in memory, which can lead to authentication lockouts or “too many authentication failures” errors on GitHub’s servers.
Step 4: Register the Public Keys with GitHub
Now, you must add the public portion of each key to its corresponding GitHub account:
- Copy your personal public key to the clipboard:
pbcopy < ~/.ssh/id_ed25519_github_personal.pub - Log into your personal GitHub account in your web browser. Go to Settings > SSH and GPG Keys > New SSH Key, paste the content, and save.
- Copy your work public key:
pbcopy < ~/.ssh/id_ed25519_github_work.pub - Log into your work GitHub account, navigate to the same settings panel, and add this key.
Step 5: Test Your Authentication Configuration
Verify that your SSH configurations are working correctly by attempting to connect to GitHub using your new host aliases:
ssh -T [email protected]
ssh -T [email protected]
For each command, you should receive a friendly success message from GitHub, confirming that you have successfully authenticated as the correct user (e.g., “Hi username! You’ve successfully authenticated…”).
Method 2: Automating Commit Attribution with Git Conditional Includes
Now that your authentication is configured via SSH aliases, you must ensure that Git attributes your commits to the correct email address automatically. The most manual way to do this is to run git config user.email "[email protected]" inside every single repository. However, this approach is highly error-prone; it is only a matter of time before you forget to set the local configuration and make commits using your global fallback identity.
The most elegant solution is to use Git’s conditional configurations. This feature allows Git to dynamically read configuration files based on the physical location of the repository on your Mac’s filesystem.
Step 1: Organize Your Local Directory Structure
First, establish a strict directory structure for your projects. For example, group all your personal projects under one directory, and all work-related projects under another:
~/
├── Development/
│   ├── personal/   # All personal repositories live here
│   └── work/       # All professional/company repositories live here
Step 2: Create Sub-Configuration Files
Next, create dedicated Git configuration files for each environment. Create a file for your personal config at ~/.gitconfig-personal:
[user]
    name = John Doe
    email = [email protected]
Create a separate file for your work configuration at ~/.gitconfig-work:
[user]
    name = John Doe
    email = [email protected]
Step 3: Update the Global .gitconfig File
Now, edit your primary global Git configuration file located at ~/.gitconfig. Configure your default user details and add conditional instructions to include the sub-configurations based on the directory path:
[user]
    name = John Doe
    email = [email protected] # Global default fallback

# Conditional include for work repositories
[includeIf "gitdir:~/Development/work/"]
    path = ~/.gitconfig-work

# Conditional include for personal repositories
[includeIf "gitdir:~/Development/personal/"]
    path = ~/.gitconfig-personal
With this setup, any Git repository cloned inside ~/Development/work/ will automatically inherit the configurations from ~/.gitconfig-work, overriding the global default. If you want to configure this directly inside your editor, you can learn how to manage multiple GitHub accounts in VSCode to align your workspace configuration with your SSH profiles.
Method 3: Interacting with Remote Repositories Using Aliases
Because you are using SSH host aliases (like github.com-personal and github.com-work), you must adapt the remote URLs you use for cloning and pushing.
When cloning a repository for work, instead of copying the standard SSH URL from GitHub:
git clone [email protected]:company/project-repo.gitYou must substitute the host name with your configured SSH alias:
git clone [email protected]:company/project-repo.gitFor an existing repository that is already cloned on your system, you can update its remote URL to use the correct alias by executing:
git remote set-url origin [email protected]:company/project-repo.gitTo verify that the remote has been updated correctly, run:
git remote -vMethod 4: Managing HTTPS Connections via Git Credential Manager
If your organization enforces HTTPS access and prohibits SSH connections due to corporate firewall policies, you must manage multiple credentials over HTTPS. By default, the macOS Keychain stores credentials matching the host github.com globally, which makes separating multiple accounts difficult because it will always offer the first saved credential.
To solve this, you can install the official **Git Credential Manager (GCM)**, which supports advanced multi-account authentication over HTTPS. Install GCM via Homebrew:
brew tap microsoft/git-credential-manager
brew install --cask git-credential-manager
Once installed, configure Git to use GCM as its credential helper. Update your ~/.gitconfig file to include:
[credential]
    helper = osxkeychain
    useHttpPath = true
Setting useHttpPath = true is critical. It forces the credential helper to treat github.com/company and github.com/personal-username as distinct paths, allowing it to cache separate Personal Access Tokens (PATs) for each account instead of caching a single token for the entire github.com domain.
Advanced Configuration: GPG Commit Signing for Multiple Accounts
For security-conscious developers, signing your commits with GPG keys verifies that your contributions originate from a trusted source. When managing multiple accounts, you must pair the correct GPG key with the corresponding commit email.
First, generate a GPG key for each email address using the GPG command-line tool (installable via Homebrew: brew install gpg):
gpg --full-generate-keyGenerate one key for your personal email and another for your work email. List your GPG keys to obtain their short IDs:
gpg --list-secret-keys --keyid-format LONGLocate the lines starting with sec and note the key IDs (e.g., 3AA5C34371567BD2). Export each public key and add it to your respective GitHub accounts under Settings:
gpg --armor --export 3AA5C34371567BD2Next, integrate these key signatures into your conditional configurations. In ~/.gitconfig-personal, configure GPG signing for your personal key:
[user]
    name = John Doe
    email = [email protected]
    signingkey = PERSONAL_GPG_KEY_ID

[commit]
    gpgsign = true
Similarly, configure GPG signing inside your ~/.gitconfig-work file:
[user]
    name = John Doe
    email = [email protected]
    signingkey = WORK_GPG_KEY_ID

[commit]
    gpgsign = true
This automated strategy guarantees that when you commit inside your ~/Development/work/ directory, Git signing is executed seamlessly using the correct professional key.
Troubleshooting Common Configuration Conflicts
Even with careful configuration, you may encounter obstacles during daily operations. Here is how to resolve the most common issues on macOS.
| Error Symptom | Root Cause | Solution |
|---|---|---|
Permission denied (publickey) |
SSH agent is presenting the wrong key or no key to the server. | Run ssh-add -l to check cached keys. Ensure IdentitiesOnly yes is in SSH config and you are using the host alias. |
| Commits show the wrong email profile on GitHub | Global git configuration is taking precedence or files are in the wrong directory. | Run git config user.email inside the repository to verify. Check that the path matches your includeIf path. |
| SSH keys are forgotten after restarting your Mac | The SSH agent does not load keys automatically on startup. | Add AddKeysToAgent yes and UseKeychain yes under Host * in your ~/.ssh/config. |
Repository not found error when pulling |
You are authenticated with the incorrect SSH key that lacks repo access. | Check your remote URL by running git remote -v and make sure it uses the proper host alias. |
Web Session Management: The Developer’s Browser Challenge
While configuring SSH keys and conditional git configs successfully resolves command-line operations, it does not address the browser environment. In your web browser, you must review pull requests, create issues, and manage projects. Standard browsers keep you logged in to a single GitHub session per window, meaning you must frequently log out of your work account and log into your personal account to review side projects.
While Git handles command-line configurations, separating web sessions for PR approvals and issue tracking requires session isolation to keep cookies and active logins from crossing over. By utilizing specialized tools to separate these environments, you can manage multiple accounts easily and eliminate the risk of accidental cross-profile activity.
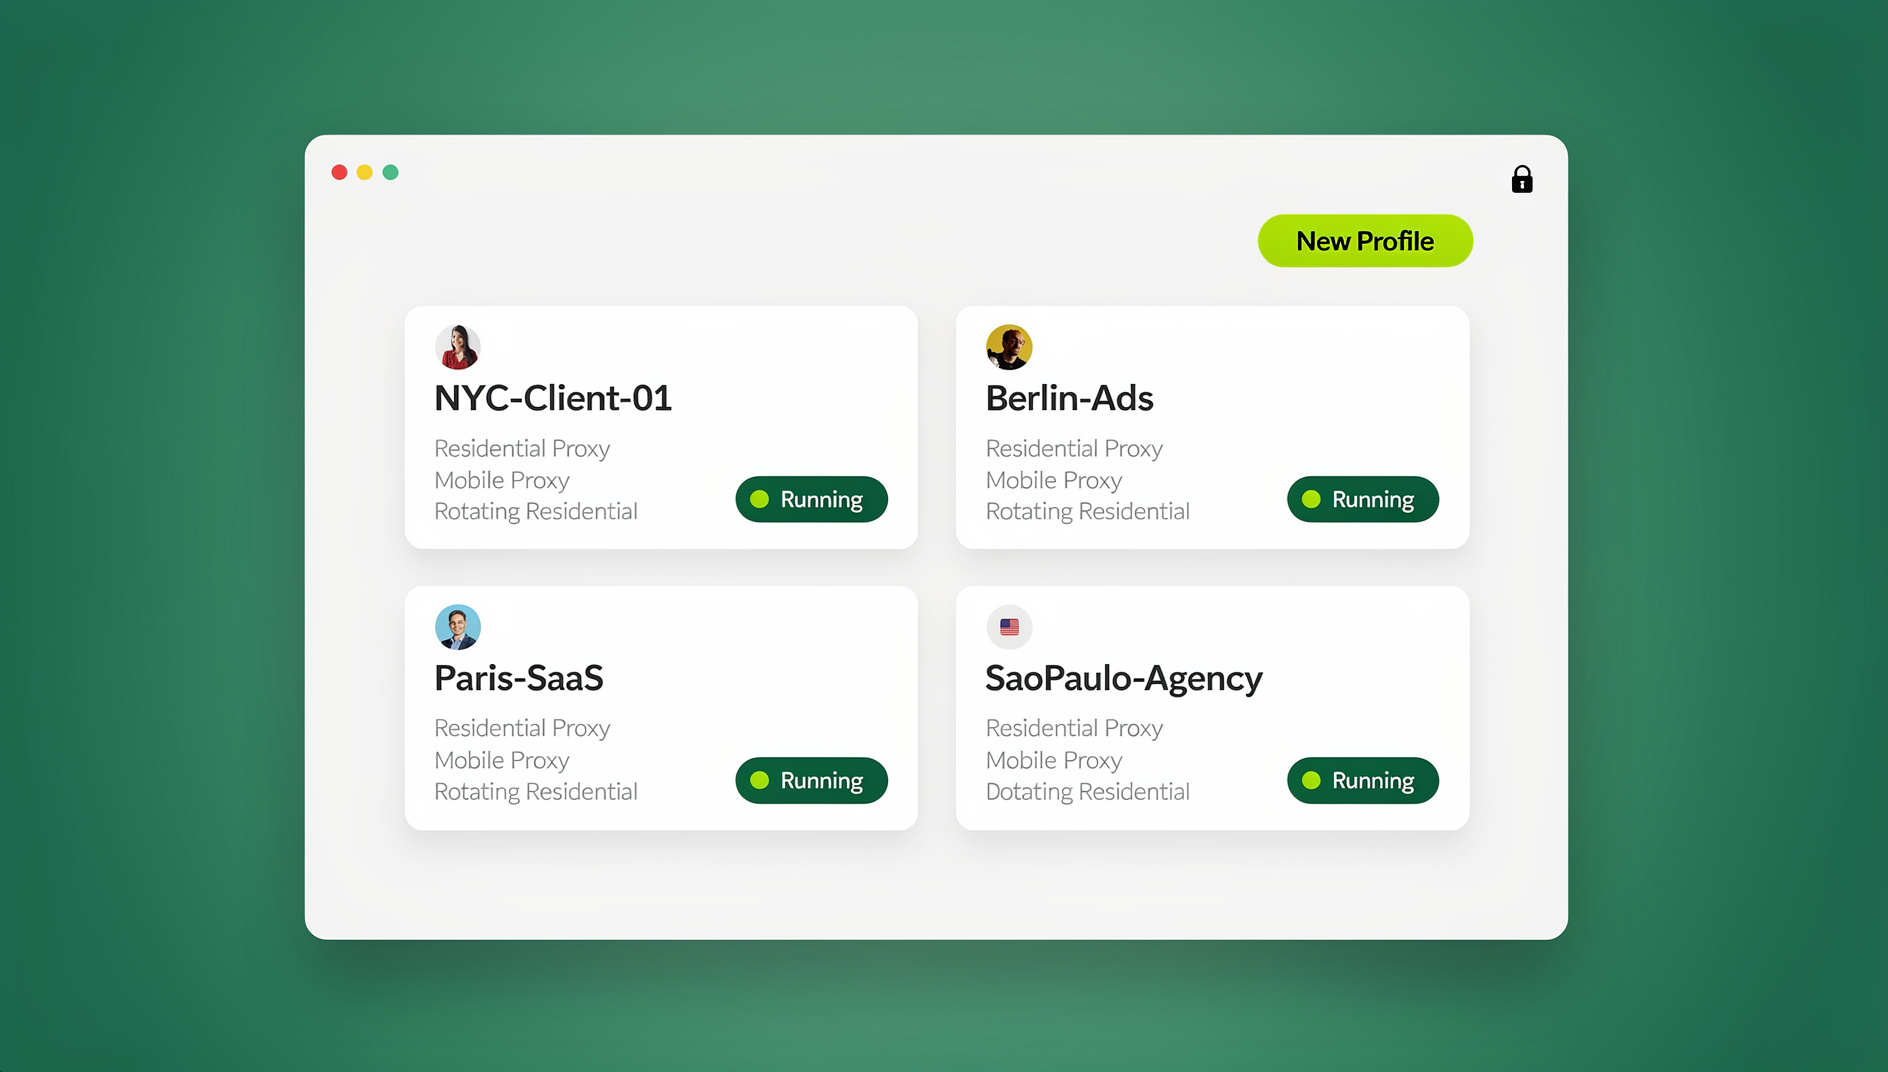
To avoid logging in and out of the browser interface, using a dedicated multi-login browser allows you to keep both GitHub dashboards active concurrently. The native Sendwin Browser desktop client provides a complete sandbox container system for each profile. Rather than using flimsy session tools that leak device fingerprints, the desktop application runs each session with isolated cookie stores, localized storage, and decoupled session states. If you prefer a setup without local installations, Send.win also offers cloud browser sessions that run on remote servers, providing access to isolated GitHub workspaces from any device.
🏆 Send.win Verdict
Managing multiple GitHub accounts on a Mac requires separating terminal identities and web dashboards. Send.win provides isolated native environments and cloud browser sessions that prevent cross-account contamination, letting you stay logged into multiple GitHub profiles simultaneously without security risks or logout loops.
Try Send.win free today — run independent GitHub web workspaces side-by-side with complete session isolation.
Frequently Asked Questions
Can I use the same SSH key for two different GitHub accounts?
No, GitHub does not allow you to upload the same SSH public key to multiple accounts. Each key must be cryptographically unique to a single account so that GitHub’s servers can map the incoming connection to the correct profile.
How do I fix commits that already have the wrong email?
If the commits have not been pushed to the remote server, you can modify the author of the most recent commit by running git commit --amend --author="New Name <[email protected]>". For older commits, you will need to perform an interactive rebase or use a tool like git-filter-repo.
Does using includeIf affect git command line performance?
No, Git evaluates the includeIf directive almost instantly when reading your configuration. It has zero observable impact on your terminal performance or commit speed.
What is the difference between Sendwin Browser and cloud sessions?
The Sendwin Browser is a native desktop application that runs isolated sandboxed profiles locally on your computer, using your local hardware and networking. Cloud browser sessions run on remote servers and stream the browser window to you, requiring no local installation and offering access from any machine.
Do I need a paid plan to use Send.win?
Send.win does not offer a free trial. The Pro plan is available for $19 per month ($83.88 per month billed annually), or the Team plan for $49 per month ($251.88 per month billed annually) for collaboration features. The first card purchase is covered by a 7-day money-back guarantee, and the only free option is the cloud demo at https://send.win/demo-browser/.
Can I automate GitHub account switching using environment variables?
Yes, you can temporarily override your Git configuration by setting environment variables in your shell, such as GIT_AUTHOR_EMAIL and GIT_COMMITTER_EMAIL, but this is less persistent than using the directory-based includeIf configuration.
How does Git Credential Manager protect my tokens?
Git Credential Manager integrates directly with the macOS Keychain, storing your GitHub Personal Access Tokens inside a system-level secure credential store rather than saving them in plaintext files on your drive.